Operating a Milling Machine
Permanent Materials
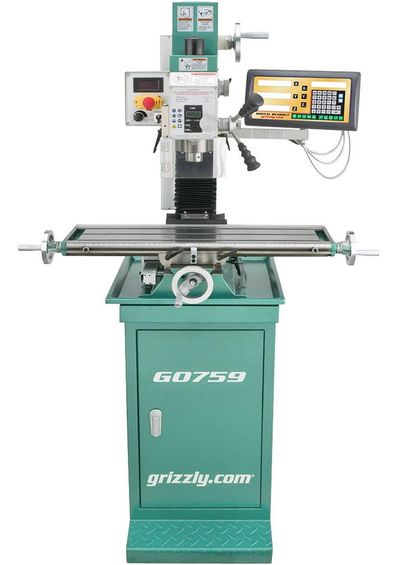
- G0759 Milling Machine and Milling Vise
- Collets
- HSS Mills
- Drill Chuck and Drill Bits
- Die and Tap Sets
- Edge Finder
- Dial Indicator
- Parallel Bar Set
- Digital Calipers
Consumable Raw Material
- Al 6061 1 1/8" x 1 1/8" Bar Stock
Activities
Basic Idea: Make a small 1" Al cube with tapped holes and one face hogged out.
CLEAN UP AREA AFTER EACH LAB SESSION
- Get a safety demonstration from the instructor or TA.
- Read the G0759 manual Introduction and Safety sections (pages 2-10) and the Operations section (pages 22-32).
- Use AutoCAD (on virtual machine on mother in APL) to make a technical drawing of a 1" Al cube with four 8-32 (0.5" deep) tapped holes in the corner of one face (holes positioned 1/8" from edges) and a 1/4" hogged out squarish hole (1/8" border) on the opposite face. If you're new to AutoCAD you can view a few of the many good AutoCAD-for-beginners tutorials on YouTube. Show drawing to Instructor or TA before moving on.
- Calculate Spindle Speed with this online calculator. Set the mill's spindle speed to be no more than 3/4 the calculated speed and less than 80% of the maximum G0759's spindle speed.
- Set up a rough cut of a ~ 1 1/8 length section from the Al bar stock using the band saw - Get instructor or TA approval before making the cut. Clean up metal shavings and put bandsaw and stock back in storage areas.
- Mount the rough block in the milling vise using parallel bars (rough side face up)- Get instructor or TA approval before milling.
- Face mill the rough side so that it's 1.000" +- 0.003" from its opposite face.
- Side mill the other faces such that all faces are 1.000" +- 0.003" from their opposites (use edge finder to precisely locate faces). Get instructor or TA approval before making first side mill operation.
- Use dial indicator to verify that the faces are parallel to within 3 mils (a mil is one thousandth of an inch).
- Drill and tap 4 8-32 screw holes at the corners of one face (1/8" in from both faces). Use this drill and tap chart. Discuss this procedure with instructor or TA before attempting.
- Hog out the face opposite to the tapped holes. Leave 1/8" border and hog to 1/4" depth (make the process easier with a pattern of material-removing drilled holes). Discuss this operation with the instructor or TA before attempting.
- Put all tools back into storage and clean up area.
