Difference between revisions of "Operating a Metal Lathe"
(→Consumable Raw Materials) |
(→Activities) |
||
| Line 40: | Line 40: | ||
# Put a small groove on the screw head to create a slot for a screwdriver. | # Put a small groove on the screw head to create a slot for a screwdriver. | ||
# Put all tools back into storage and clean up area. | # Put all tools back into storage and clean up area. | ||
| + | |||
| + | |||
| + | == Useful Information == | ||
Latest revision as of 11:25, 29 May 2019

Permanent Materials
- G0602Z Lathe and Tool Bits
- Tailstock Chuck, Countersink and Drill Bits
- Live Tailstock Center
- Cutoff Tool
- Digital Calipers
Consumable Raw Materials
- Al 6061 3/8" Diameter Rod Stock (for 1/4-20 screw)
- Al 6061 5/16" Diameter Rod Stock (for 8-32 screw)
Activities
Basic Idea: Make a 1" 8-32 or 1/4-20 Fully-Threaded Flathead Screw with Chamfered Tip from rough stock.
CLEAN UP AREA AFTER EACH LAB SESSION
NOTE: Apply oil to ball oilers at start of machining session
- Get a safety demonstration from the instructor or TA.
- Read the G0602Z manual Introduction and Safety sections (pages 3-13) and the Operations section (pages 25-48). You can also view a few of the many good how-to-lathe videos on YouTube.
- Read the Wikipedia page on Screw Threading. Take a look at the ANSI External Screw Thread Size and Tolerances Chart.
- Use AutoCAD (on virtual machine on mother in APL) to make a technical drawing of a 1" 8-32 or 1/4-20 fully-threaded flathead screw with chamfered tip. If you're new to AutoCAD you can view a few of the many good AutoCAD-for-beginners tutorials on YouTube. Show drawing to Instructor or TA before moving on.
- Read the Wikipedia page on machining speeds and feeds. Calculate Spindle Speed with this online calculator. Verify that the lathe's current spindle speed is less than or equal to the calculated spindle speed. If not, discuss with the instructor or TA (DO NOT ATTEMPT TO CHANGE THE SPINDLE SPEED OR GEARING YOURSELF).
- Set up a rough cut of an appropriate length of round Al stock with which to make a screw with the bandsaw - Get instructor or TA approval before making the cut. Clean up metal shavings and put bandsaw and stock back in storage areas.
- To get an idea of the screw-making process take a look at this Youtube video.
- Mount the rough stock in the lathe chuck (rough side facing out). Get instructor or TA approval before facing off the rod.
- Face off the rod. With the tailstock chuck, drill a small hole in the open (faced off) end of the rod (so that the live center will fit in and secure the tail end of the rod).
- Use the live center in the tailstock to secure the tail end of the rod. Get instructor or TA approval before proceeding.
- Turn down the rod's diameter (where the threads will be made) to the nominal major diameter for your screw size (see thread size chart above).
- Put an ~ 45% chamfer on the tail end of the rod.
- After a demonstration (very important - do not attempt threading without a demonstration) by the instructor or TA proceed with cutting the threads for your screw.
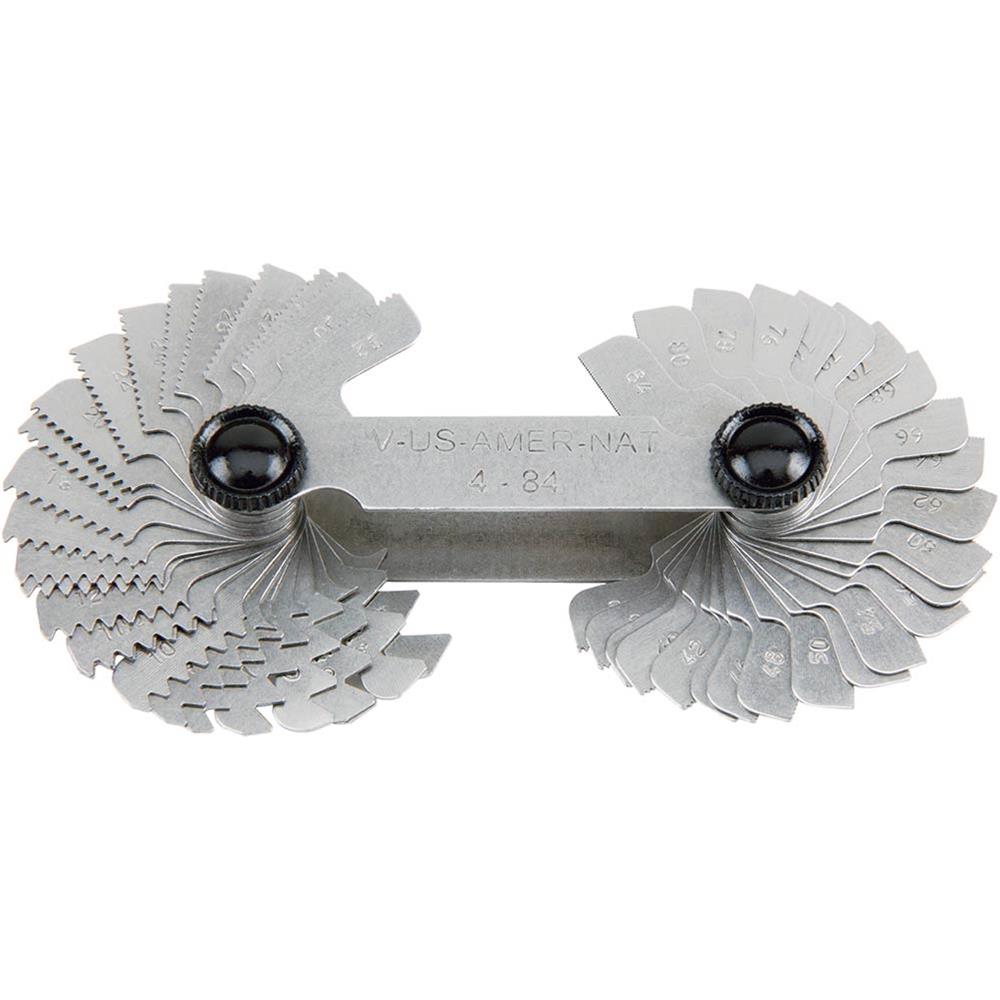
- Continue threading until your threads are well matched by the screw pitch gauge.
- After the threads are well matched to the gauge, try to fit an appropriately-sized nut onto the threads. If it doesn't fit or fits too tightly, lightly file down the threads and try again.
- Use the cutoff tool to part your screw.
- Put a small groove on the screw head to create a slot for a screwdriver.
- Put all tools back into storage and clean up area.