Difference between revisions of "Slide Set-Up"
| Line 77: | Line 77: | ||
</td> | </td> | ||
<td> | <td> | ||
| − | <p>Dry off any excess solution on the edges of the cover slip.</p> | + | <p>Dry off any excess solution on the edges of the cover slip. Cut away excess tape with an exacto knife or scalpel.</p> |
</td> | </td> | ||
</tr> | </tr> | ||
| Line 85: | Line 85: | ||
</td> | </td> | ||
<td> | <td> | ||
| − | <p>Use top coat nail polish to seal | + | <p>Use top coat nail polish on all edges of the cover slip to seal it down.</p> |
</td> | </td> | ||
</tr> | </tr> | ||
| Line 93: | Line 93: | ||
</td> | </td> | ||
<td> | <td> | ||
| + | <p>Let this dry.</p> | ||
</td> | </td> | ||
</tr> | </tr> | ||
Revision as of 14:39, 7 December 2014
Back to main Optical Tweezers Page.
|
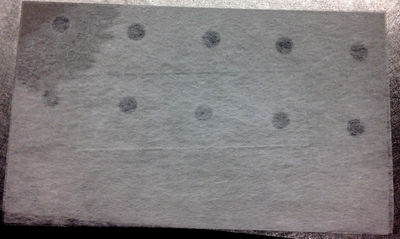
Place lens tissue paper above and below a microscope slide. |
|
|
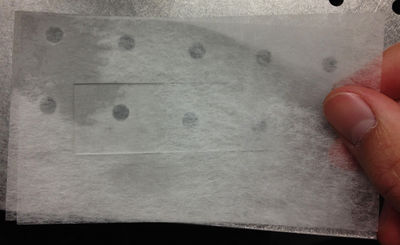
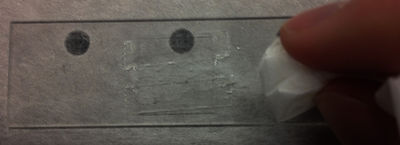
To clean the slide, drop a small amount of methanol on top of the top piece of lens tissue. |
|
|
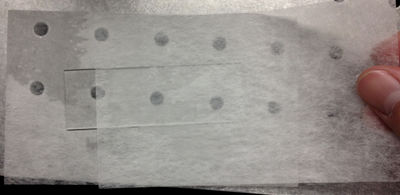
Slide the lens tissue across the microscope slide, making sure that the alcohol wipes across the entire slide. You may need something to hold the slide in place to keep it from... well, sliding. |
|
|
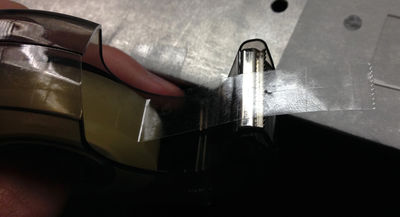
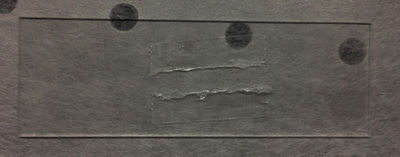
Cut a short piece of double sided sticky tape. Cut this piece in half length-wise so you get two, skinny pieces of tape. |
|
|
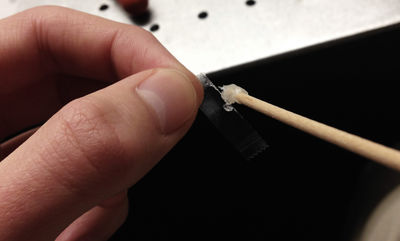
Put some vaseline on one edge of both pieces of tape. Make sure that you put on as little vaseline as possible while still coating the entire edge. |
|
|
Place both of these pieces of tape on the microscope slide about a centimeter away from each other with the vaseline sides facing each other. Possibly coat (and let dry) the slide with a Bovine Serum Albumin (BSA) solution (to help prevent microspheres sticking irreversibly to the glass slide) |
|
|
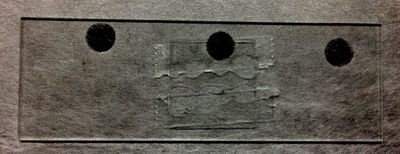
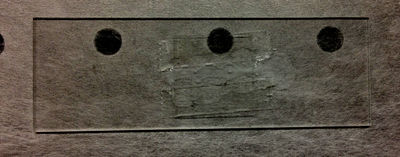
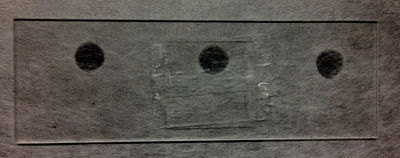
After cleaning a microscope coverslip in the same fashion as the slide (and possibly coating with BSA), place a coverslip on top of the two pieces of tape. Be sure that the cover slip is secure. |
|
|
Retrieve around 10 micro-liters of diluted microsphere solution. Make sure that this is very dilute. For example, if you have a starting liquid microsphere solution with 10% solids, shake the original bottle to evenly disperse the beads then try a dilution of ~ 200:1 of deionized water (you may need to dilute even more). If you can see any opacity, it is too concentrated. |
|
|
Dry off any excess solution on the edges of the cover slip. Cut away excess tape with an exacto knife or scalpel. |
|
|
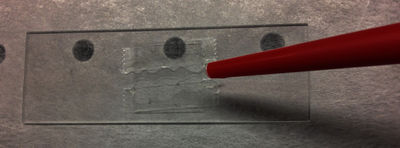
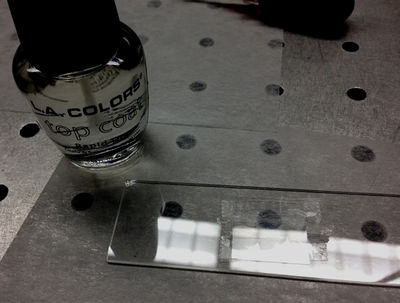
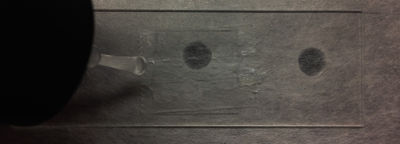
Use top coat nail polish on all edges of the cover slip to seal it down. |
|
|
Let this dry. |
|
|
Yay! |
Important notes:
- Make sure to orient the slide so that the cover slip is facing towards the objective lens. In our case, the working distance of our objective lens is 0.2 mm. If your's is similar, the sample will be too far away to focus.
- Take special care when applying nail polish near the microscope slide edges. If there is nail polish where the slide contacts the grooves of the slide mount, the nail polish may cause jamming or dry inside the grooves.
- To conserve microscope slides and to produce more stability, cleaving standard sized microscope slides into halves is a good idea.
